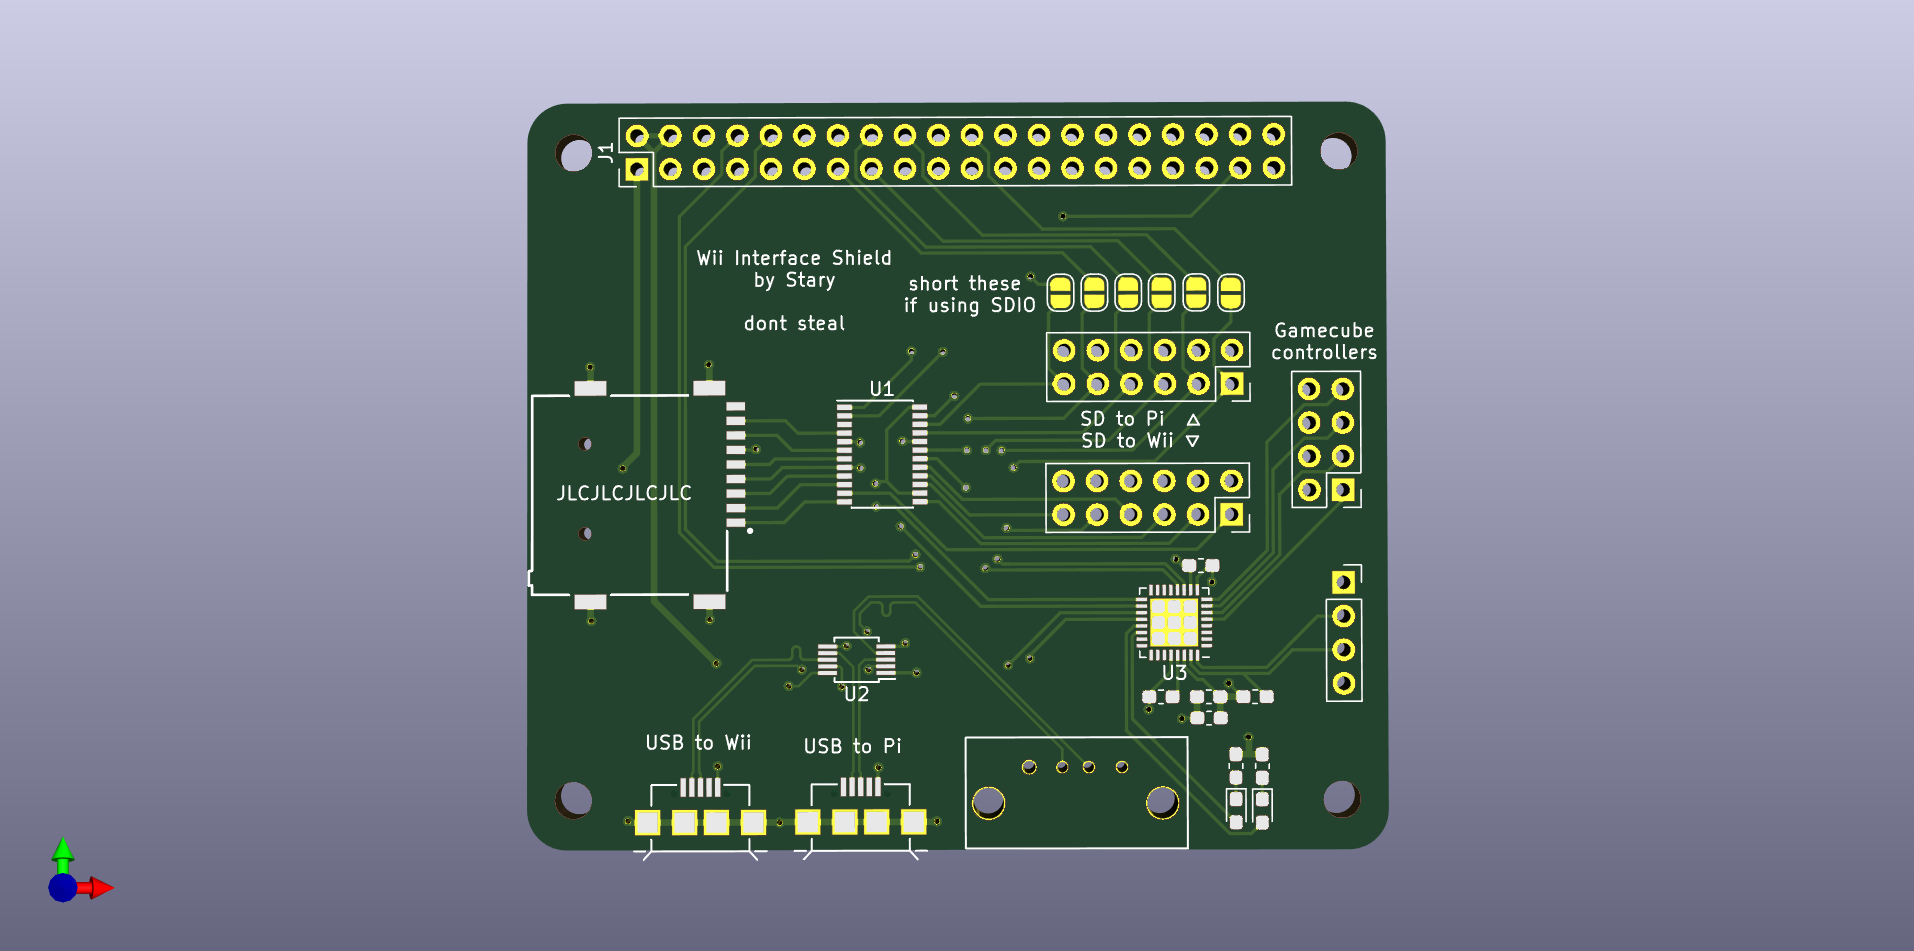
Hat
This is a Pi hat designed for use along with a capture card for remote access to a Wii system.
It can swap the SD card and USB storage between the Wii and the Pi, optionally using the Pi's inbuilt SDIO interface for this.
It also has a microcontroller for hopefully emulating at least one Gamecube controller, for controlling homebrew etc.
USB Gecko Replacement
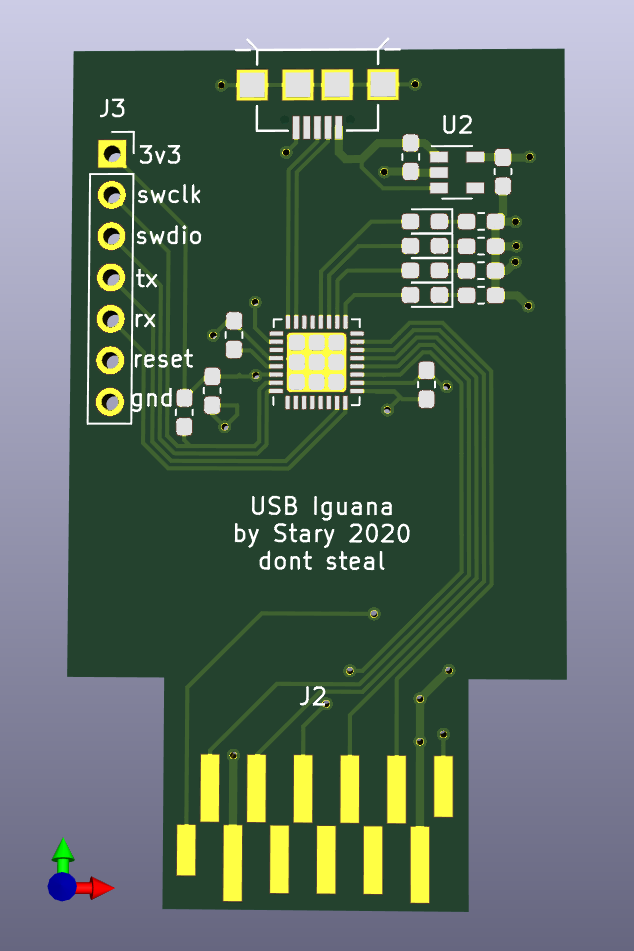
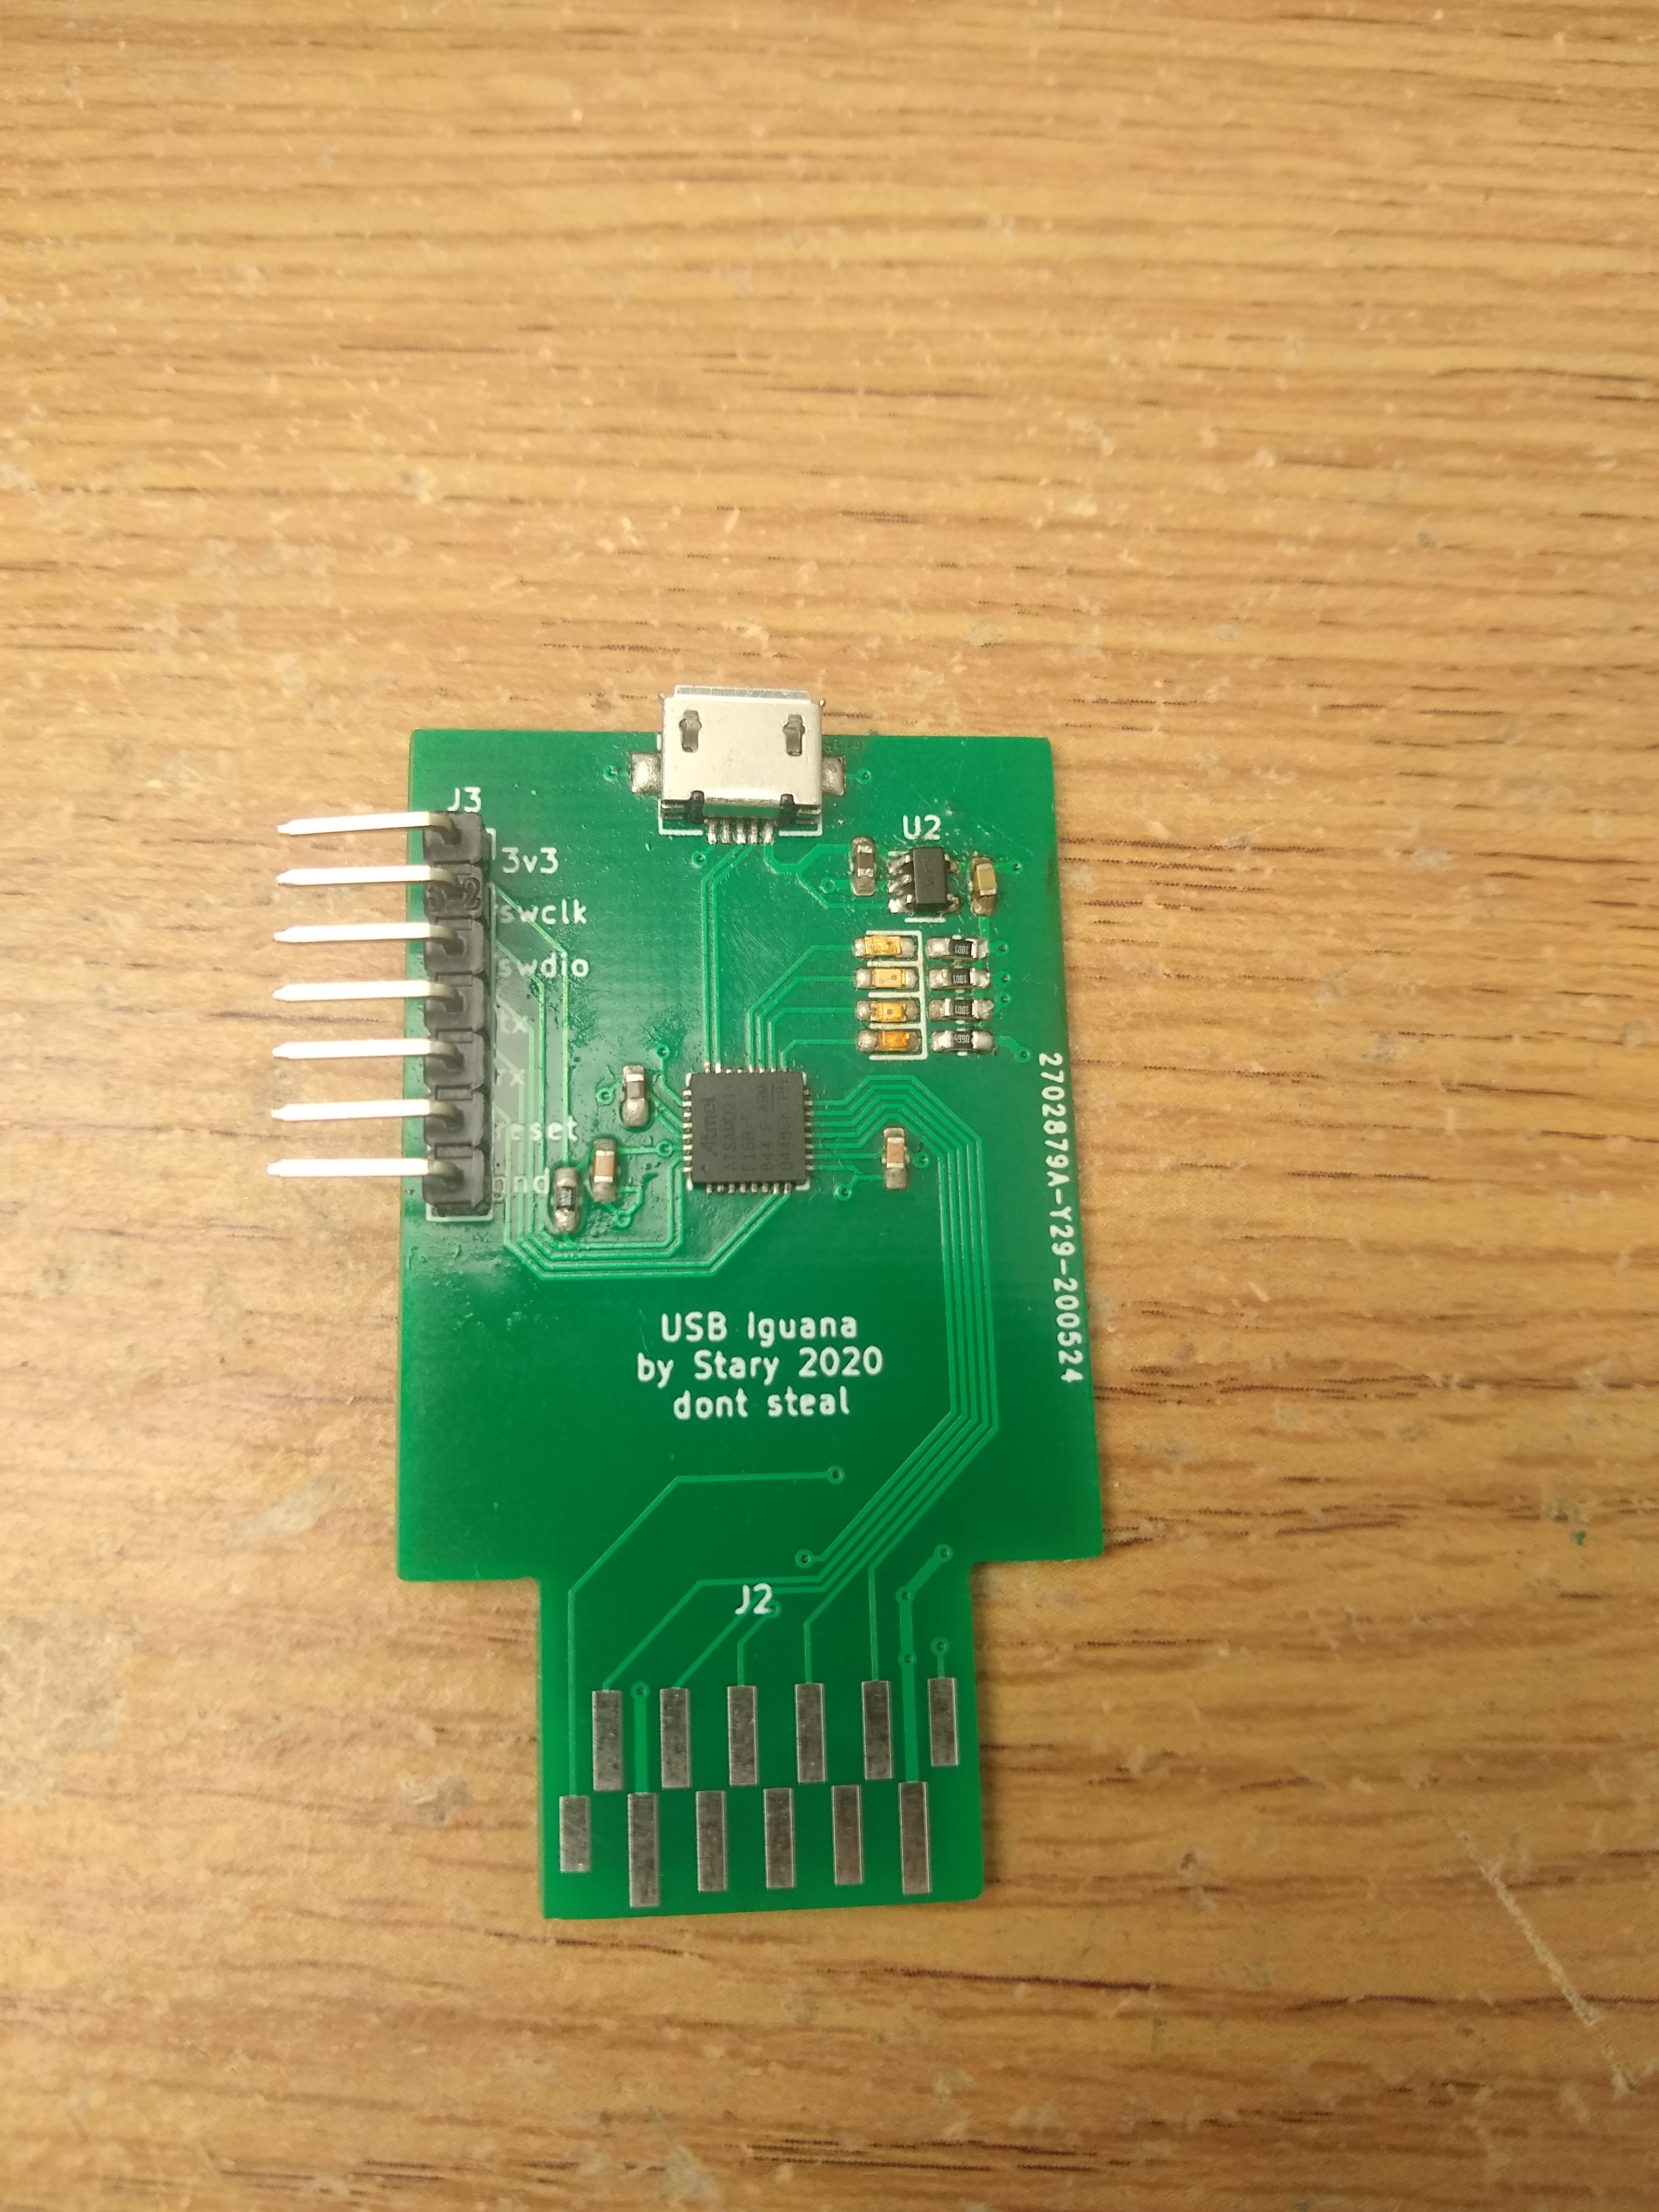
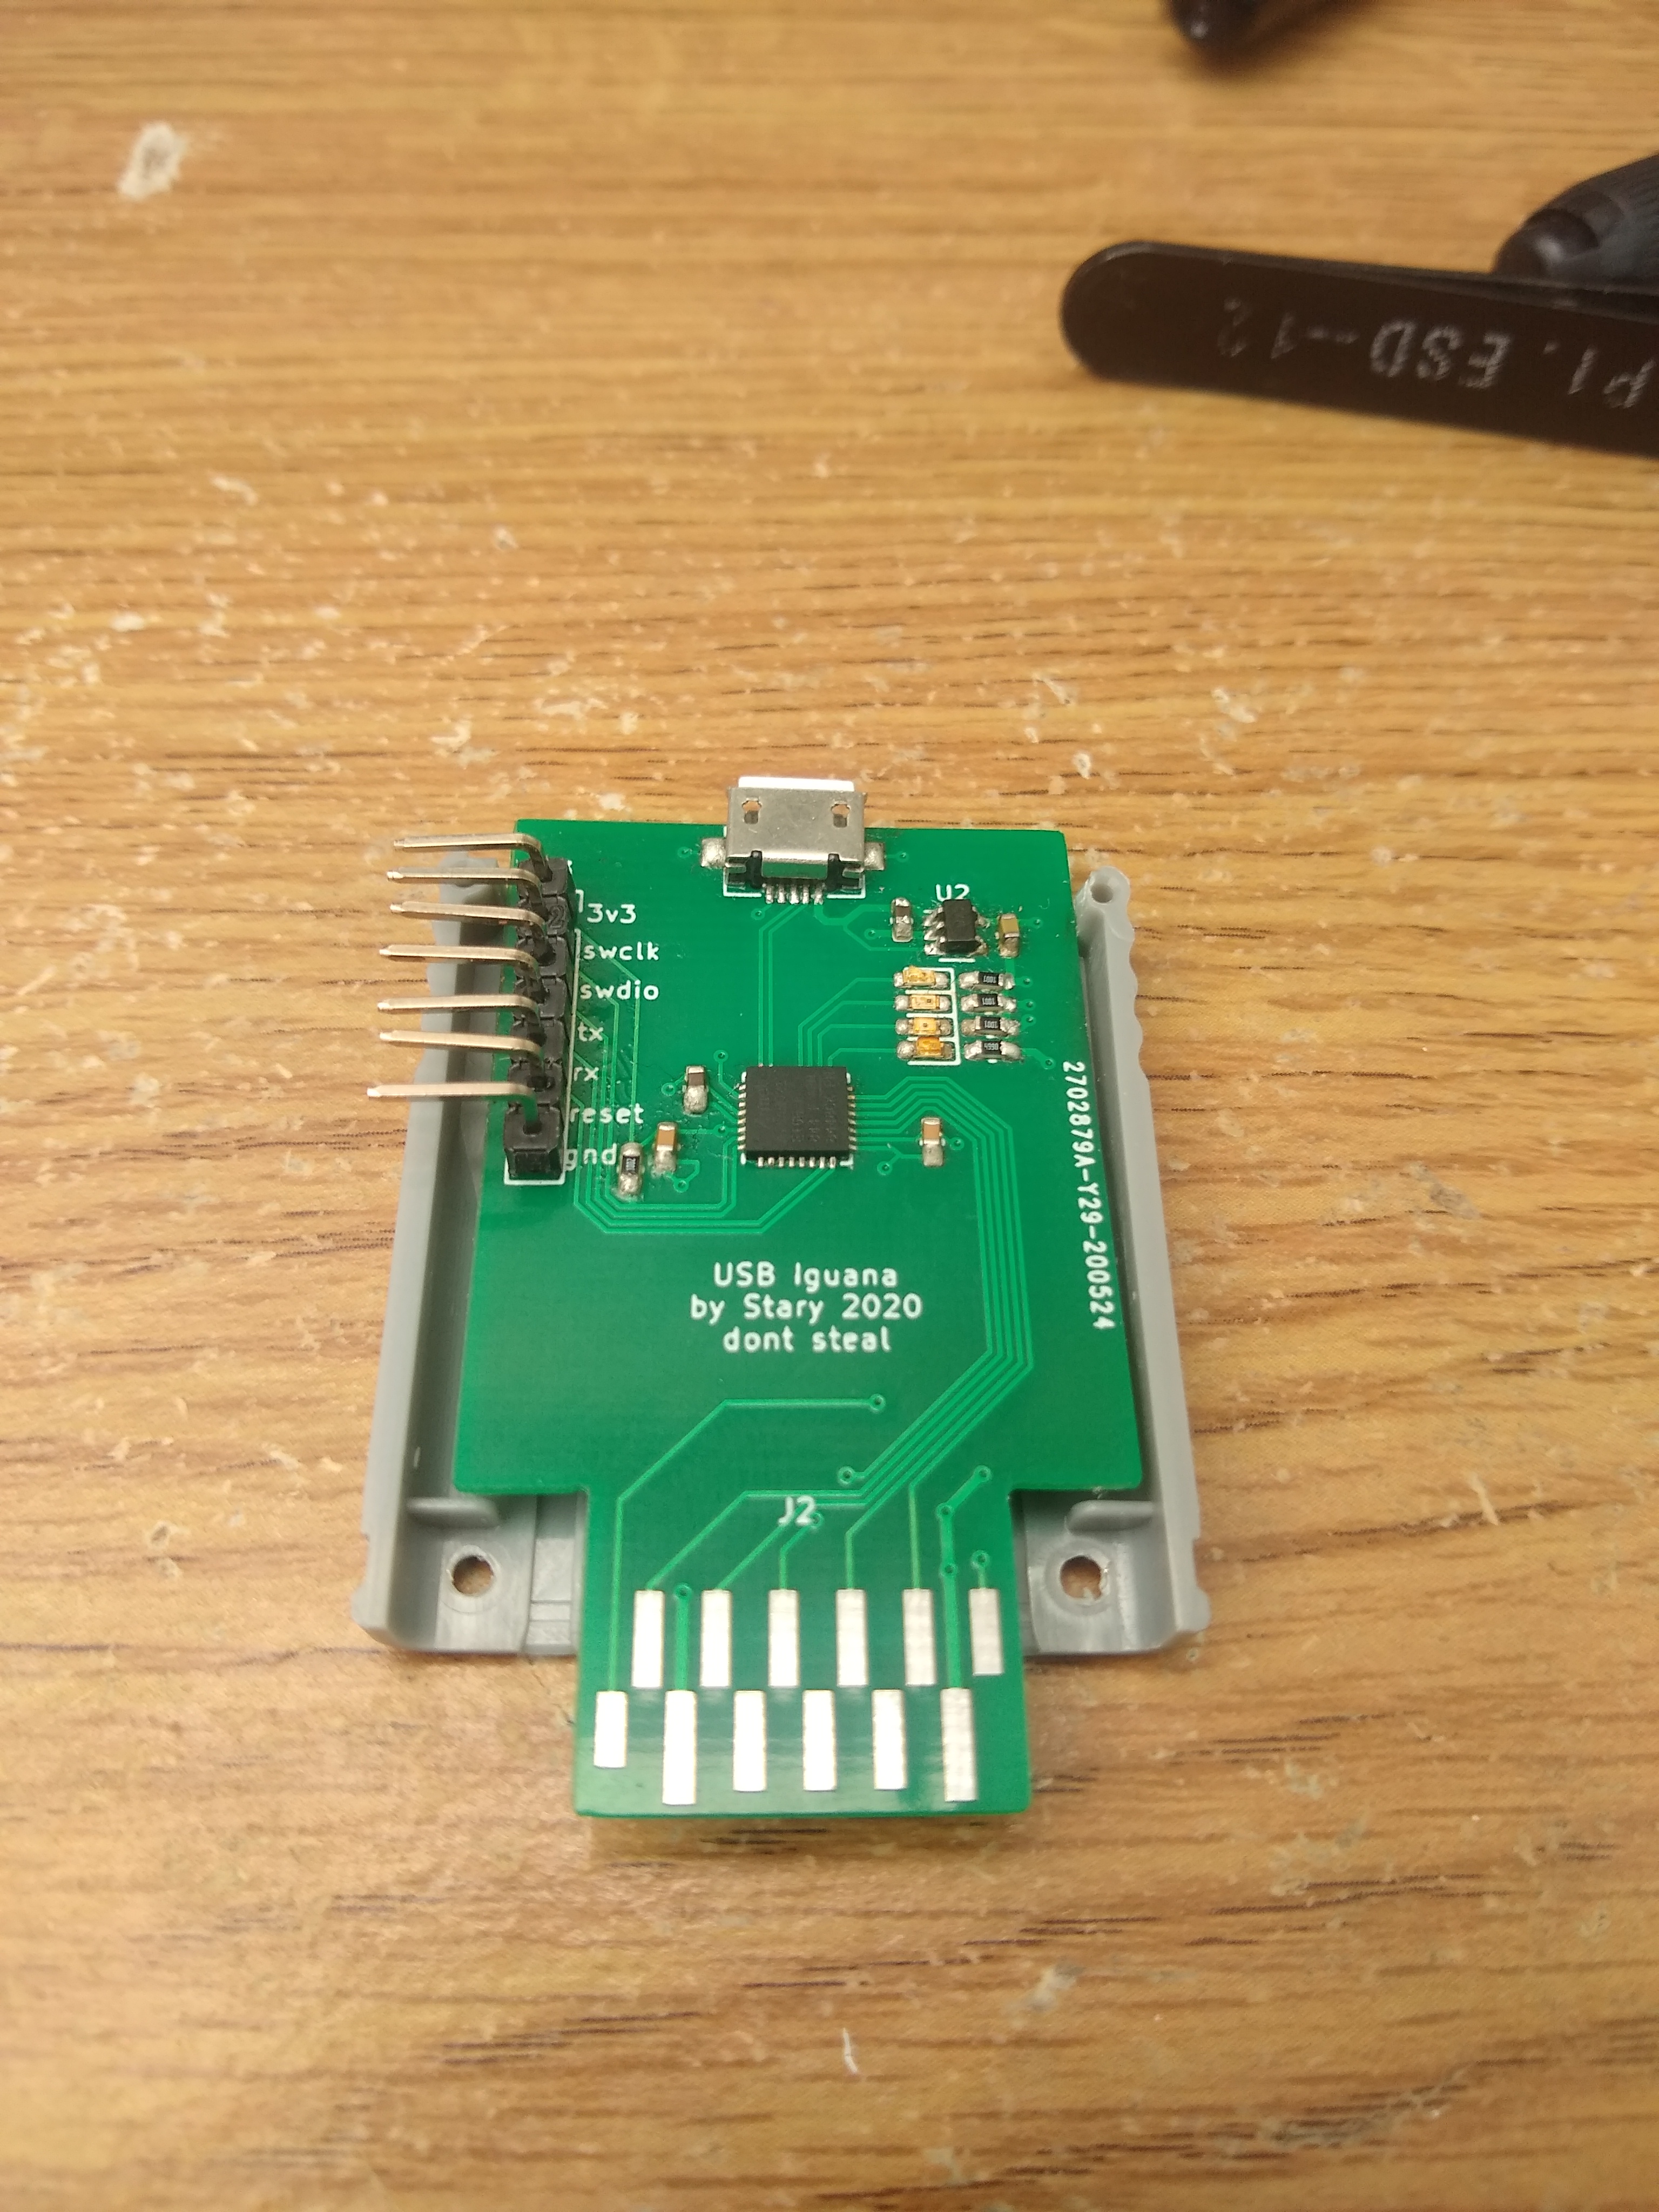
You can't get a USB Gecko anywhere any more, and the original board uses a CPLD that's really expensive. This is an attempt to use an off-the-shelf microcontroller to replace the FT245 + CPLD solution.
It turns out the Gamecube EXI bus is really SPI in disguise - this means any micro with a SPI slave peripheral will work.
For no particular reason I chose the ATSAMD21 as it has integrated USB peripheral support - a STM32 or something else would have worked as well.
The original USB Gecko schematics + PCB design files were useful to get the dimensions right - thanks for releasing them after stopping production!
Waiting on the PCBs - check back for updates.

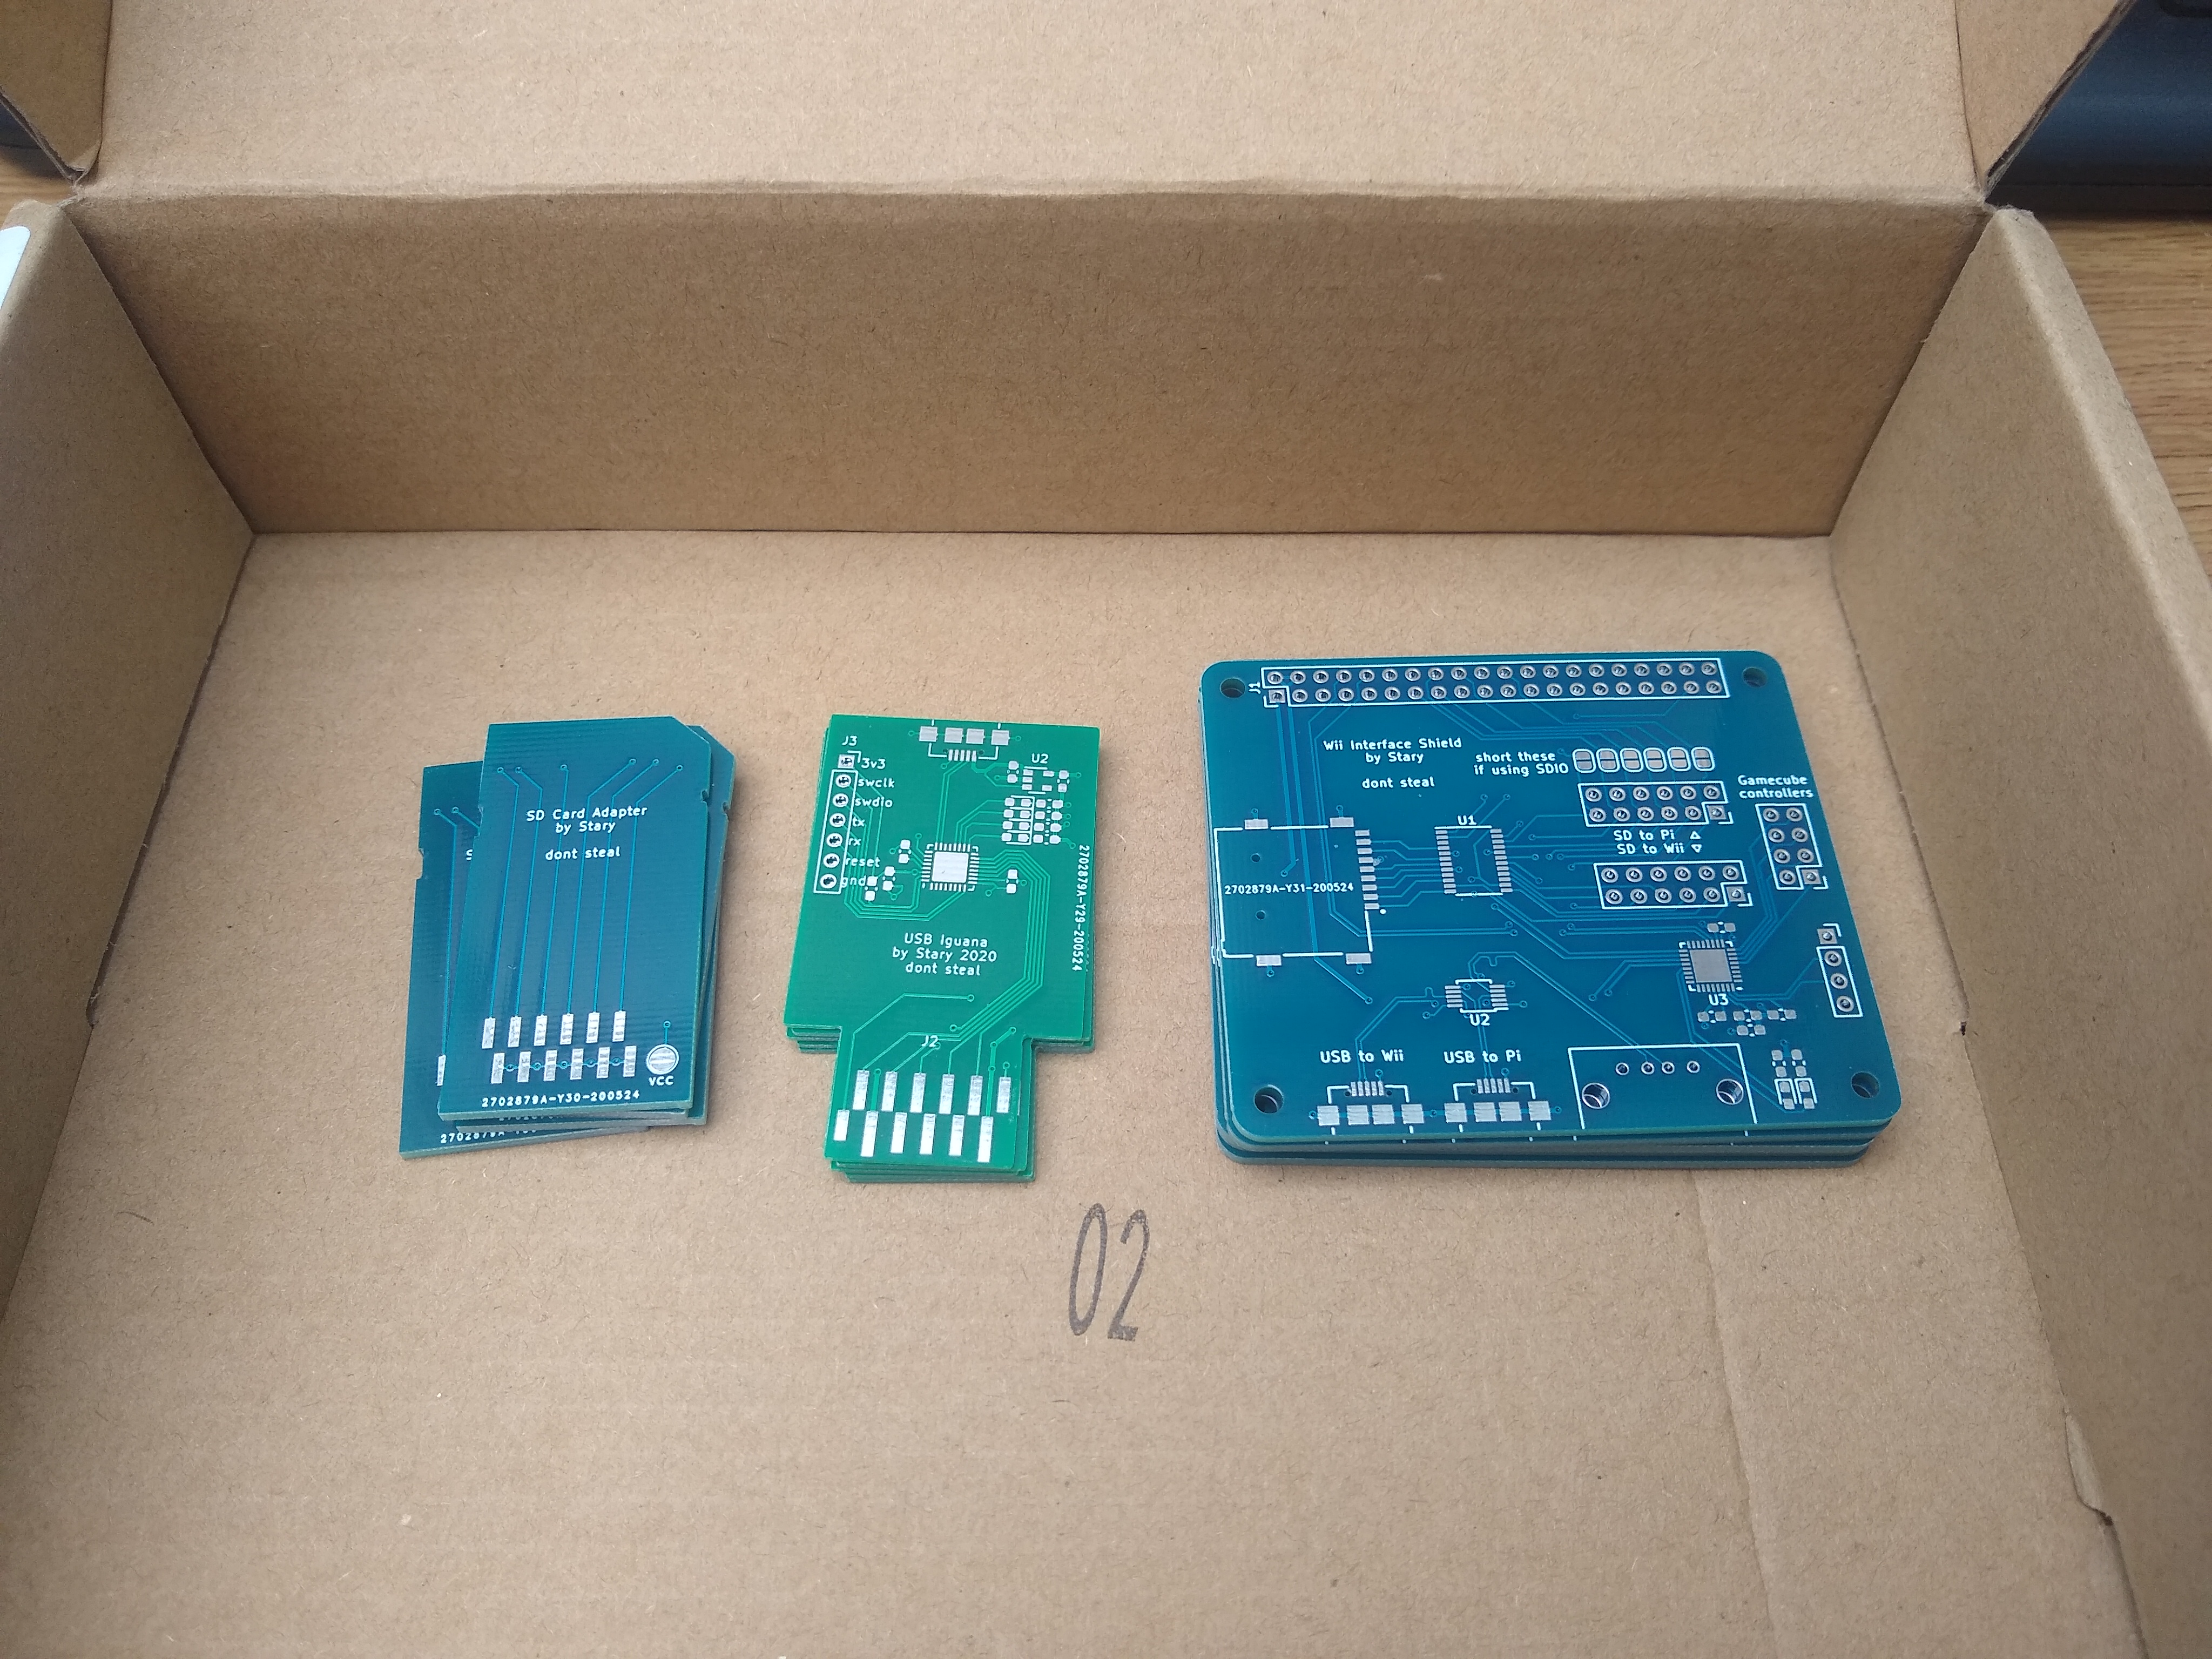
After being stuck in customs for nearly a week... the PCBs are here!
First, I decided to get firmware working for the Iguana board as it turns out you need the reset line connected to reliably program with OpenOCD - on the main board I didn't bring it out to a header, as I didn't realise this when making the boards.
However, it turns out that ATSAMD21 support in platformio is a bit of a trash fire :/
I had hoped to use mbed without mbed-os to deliver a set of headers for the peripherals etc, but it seems like mbed support for atsamd21 is missing. This leaves me with Arduino, Simba (?) and Zephyr.
Initially I wanted to use Zephyr with platformio, however the integration of the two is absolutely mega cursed somehow, resulting in me learning about the CMake file based API at 3am.
The gist of it is that platformio invokes CMake to generate a set of Ninja build files, but doesn't actually use those generated files, and instead uses the CMake build record generated by the file-based API above to feed into its SCons based build system. This lead to the path for my out-of-tree board definition being dropped, and so the build failing.
So.. I dropped platformio for Zephyr, and reworked my board definition to build with plain CMake + make. Now I had a working build, but it didn't always start on the board reliably? It would sometimes start if I touched the board, or plugged in the SWD I/O, which wasn't very conducive to debugging it.
I've dropped Zephyr for now due to this weird issue and moved onto porting the Arduino based framework that is well supported as it's used on several popular SAMD21 development boards.
This was quite easy to do - copy a board definition, edit it to have the correct RAM/Flash sizes, edit variant.h/variant.cpp to fix the IO pin definitions, done.
I flashed a DFU bootloader to the board ( https://github.com/majbthrd/SAMDx1-USB-DFU-Bootloader ) so that I don't have to flash via SWD all the time - it works fine, although I should have put a reset button on board for easier bootloader access, rather than having to mess with tapping reset manually with a wire..
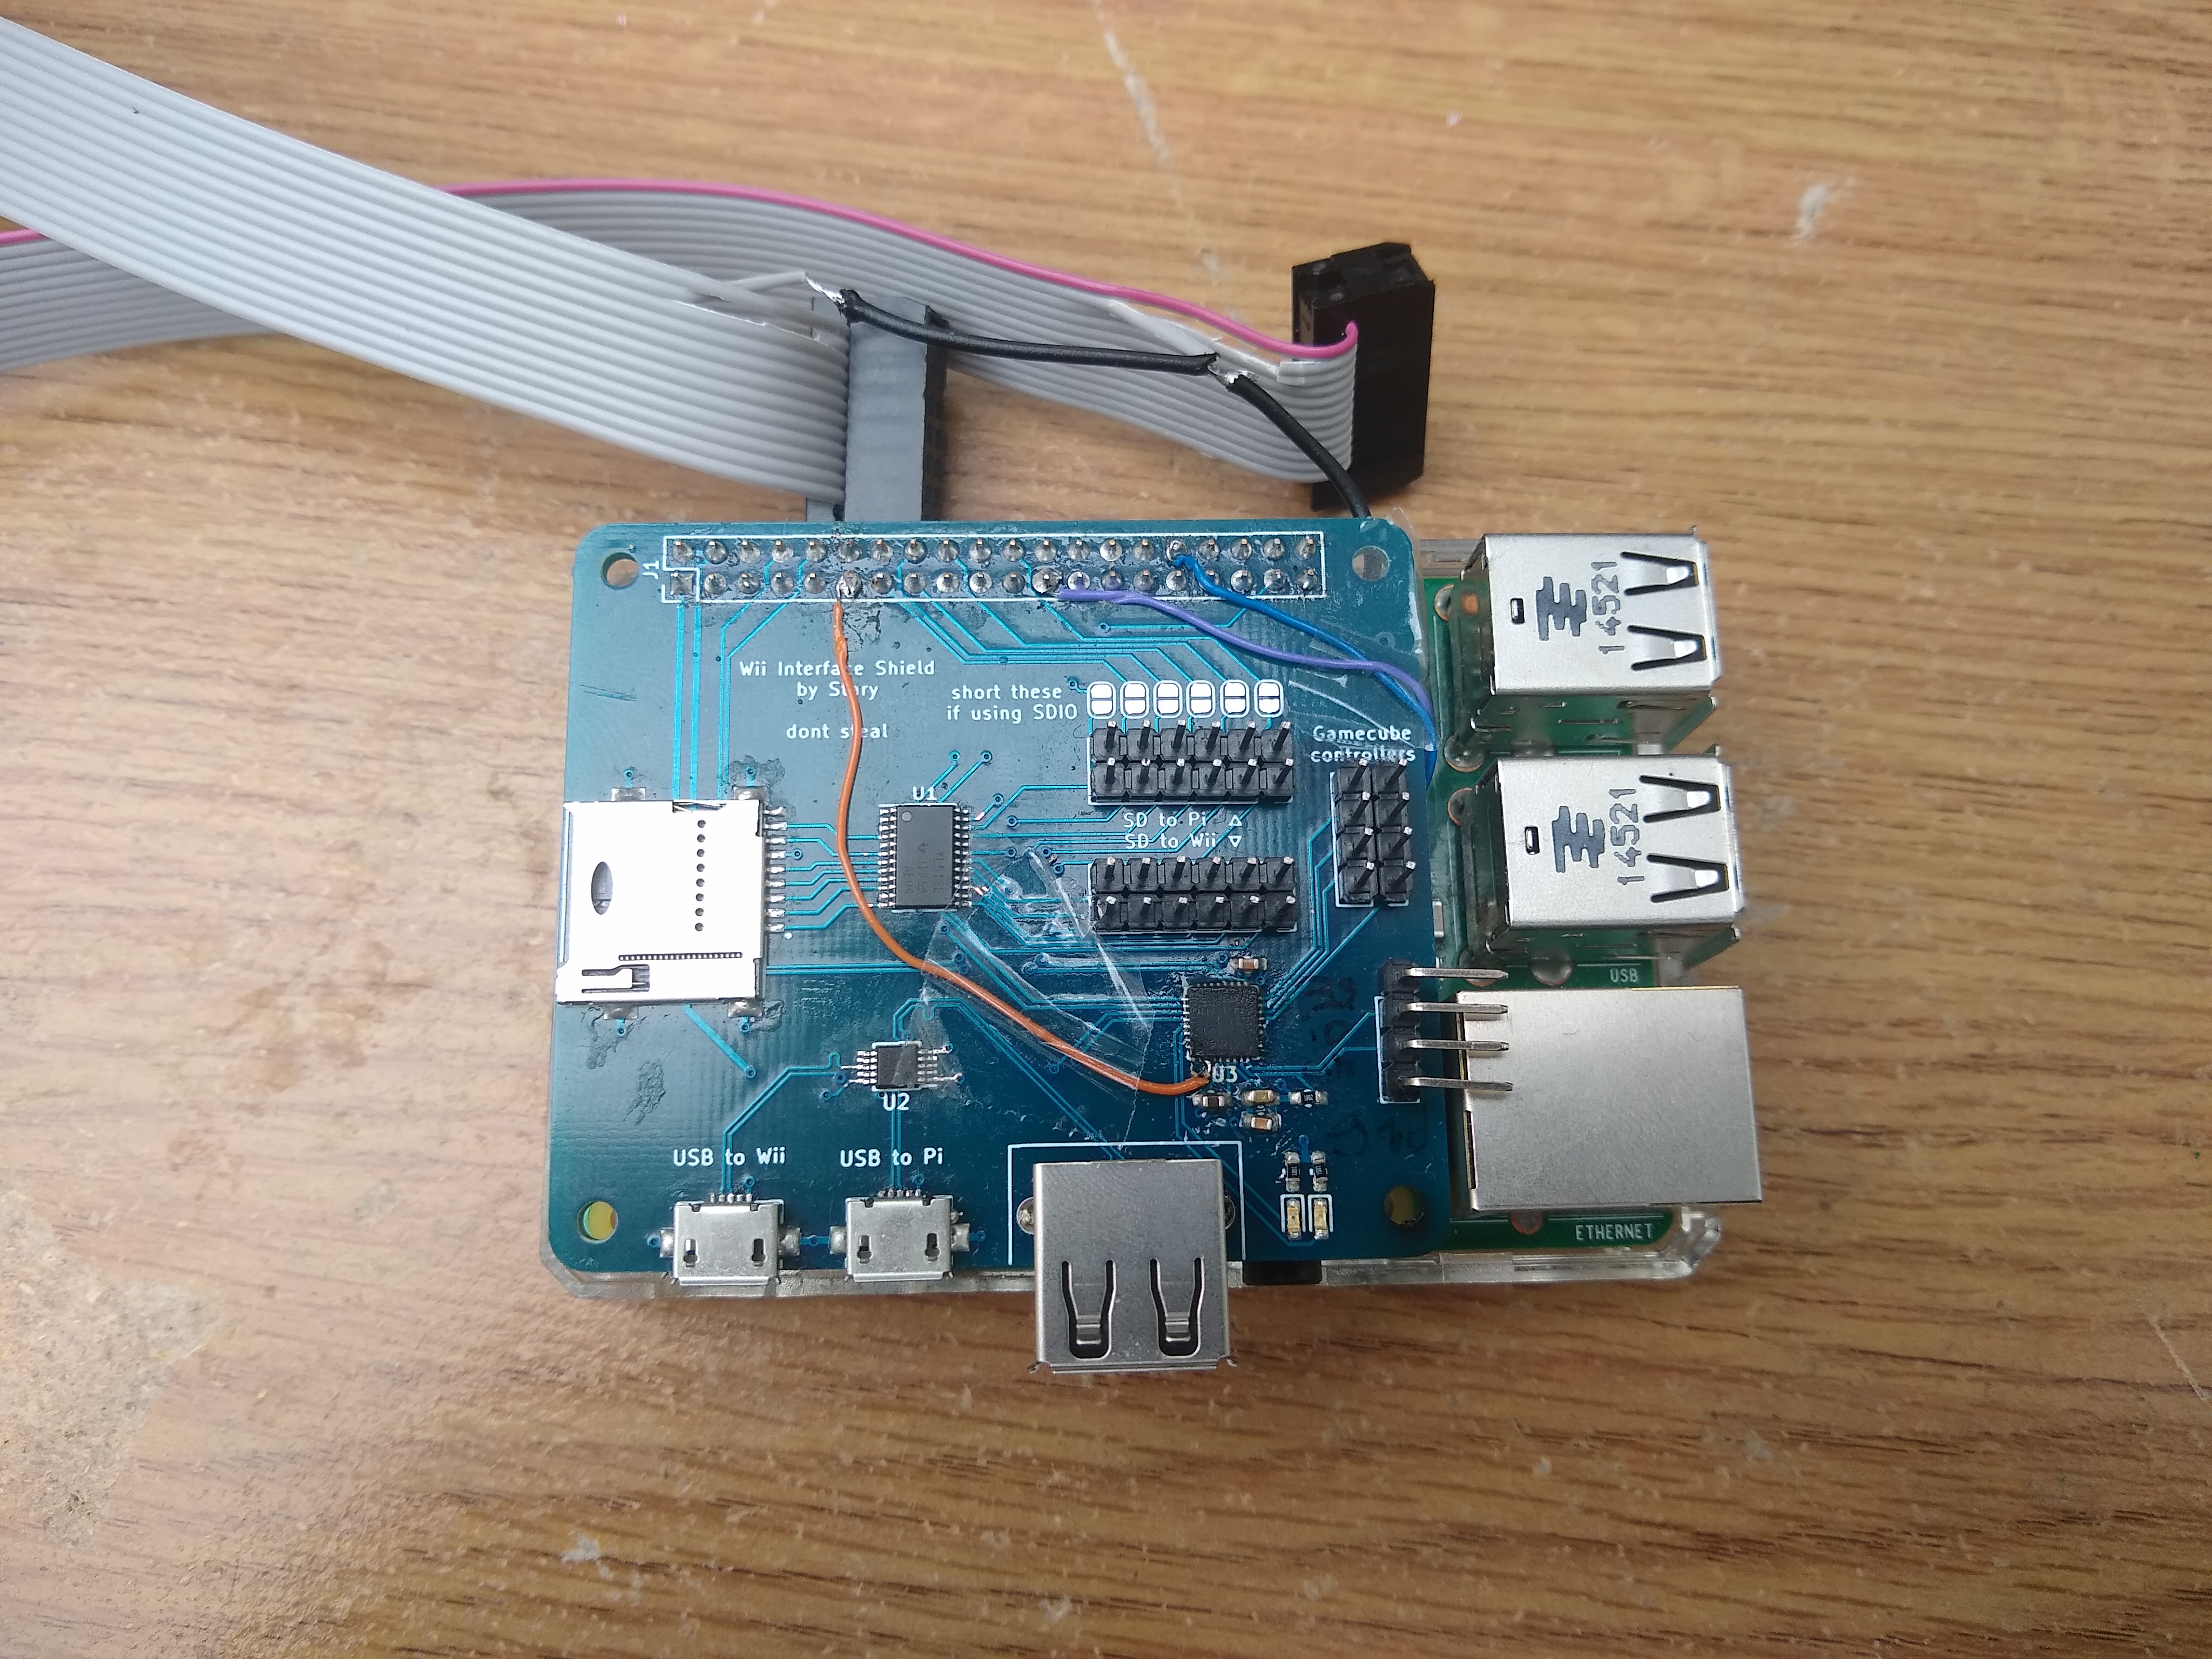
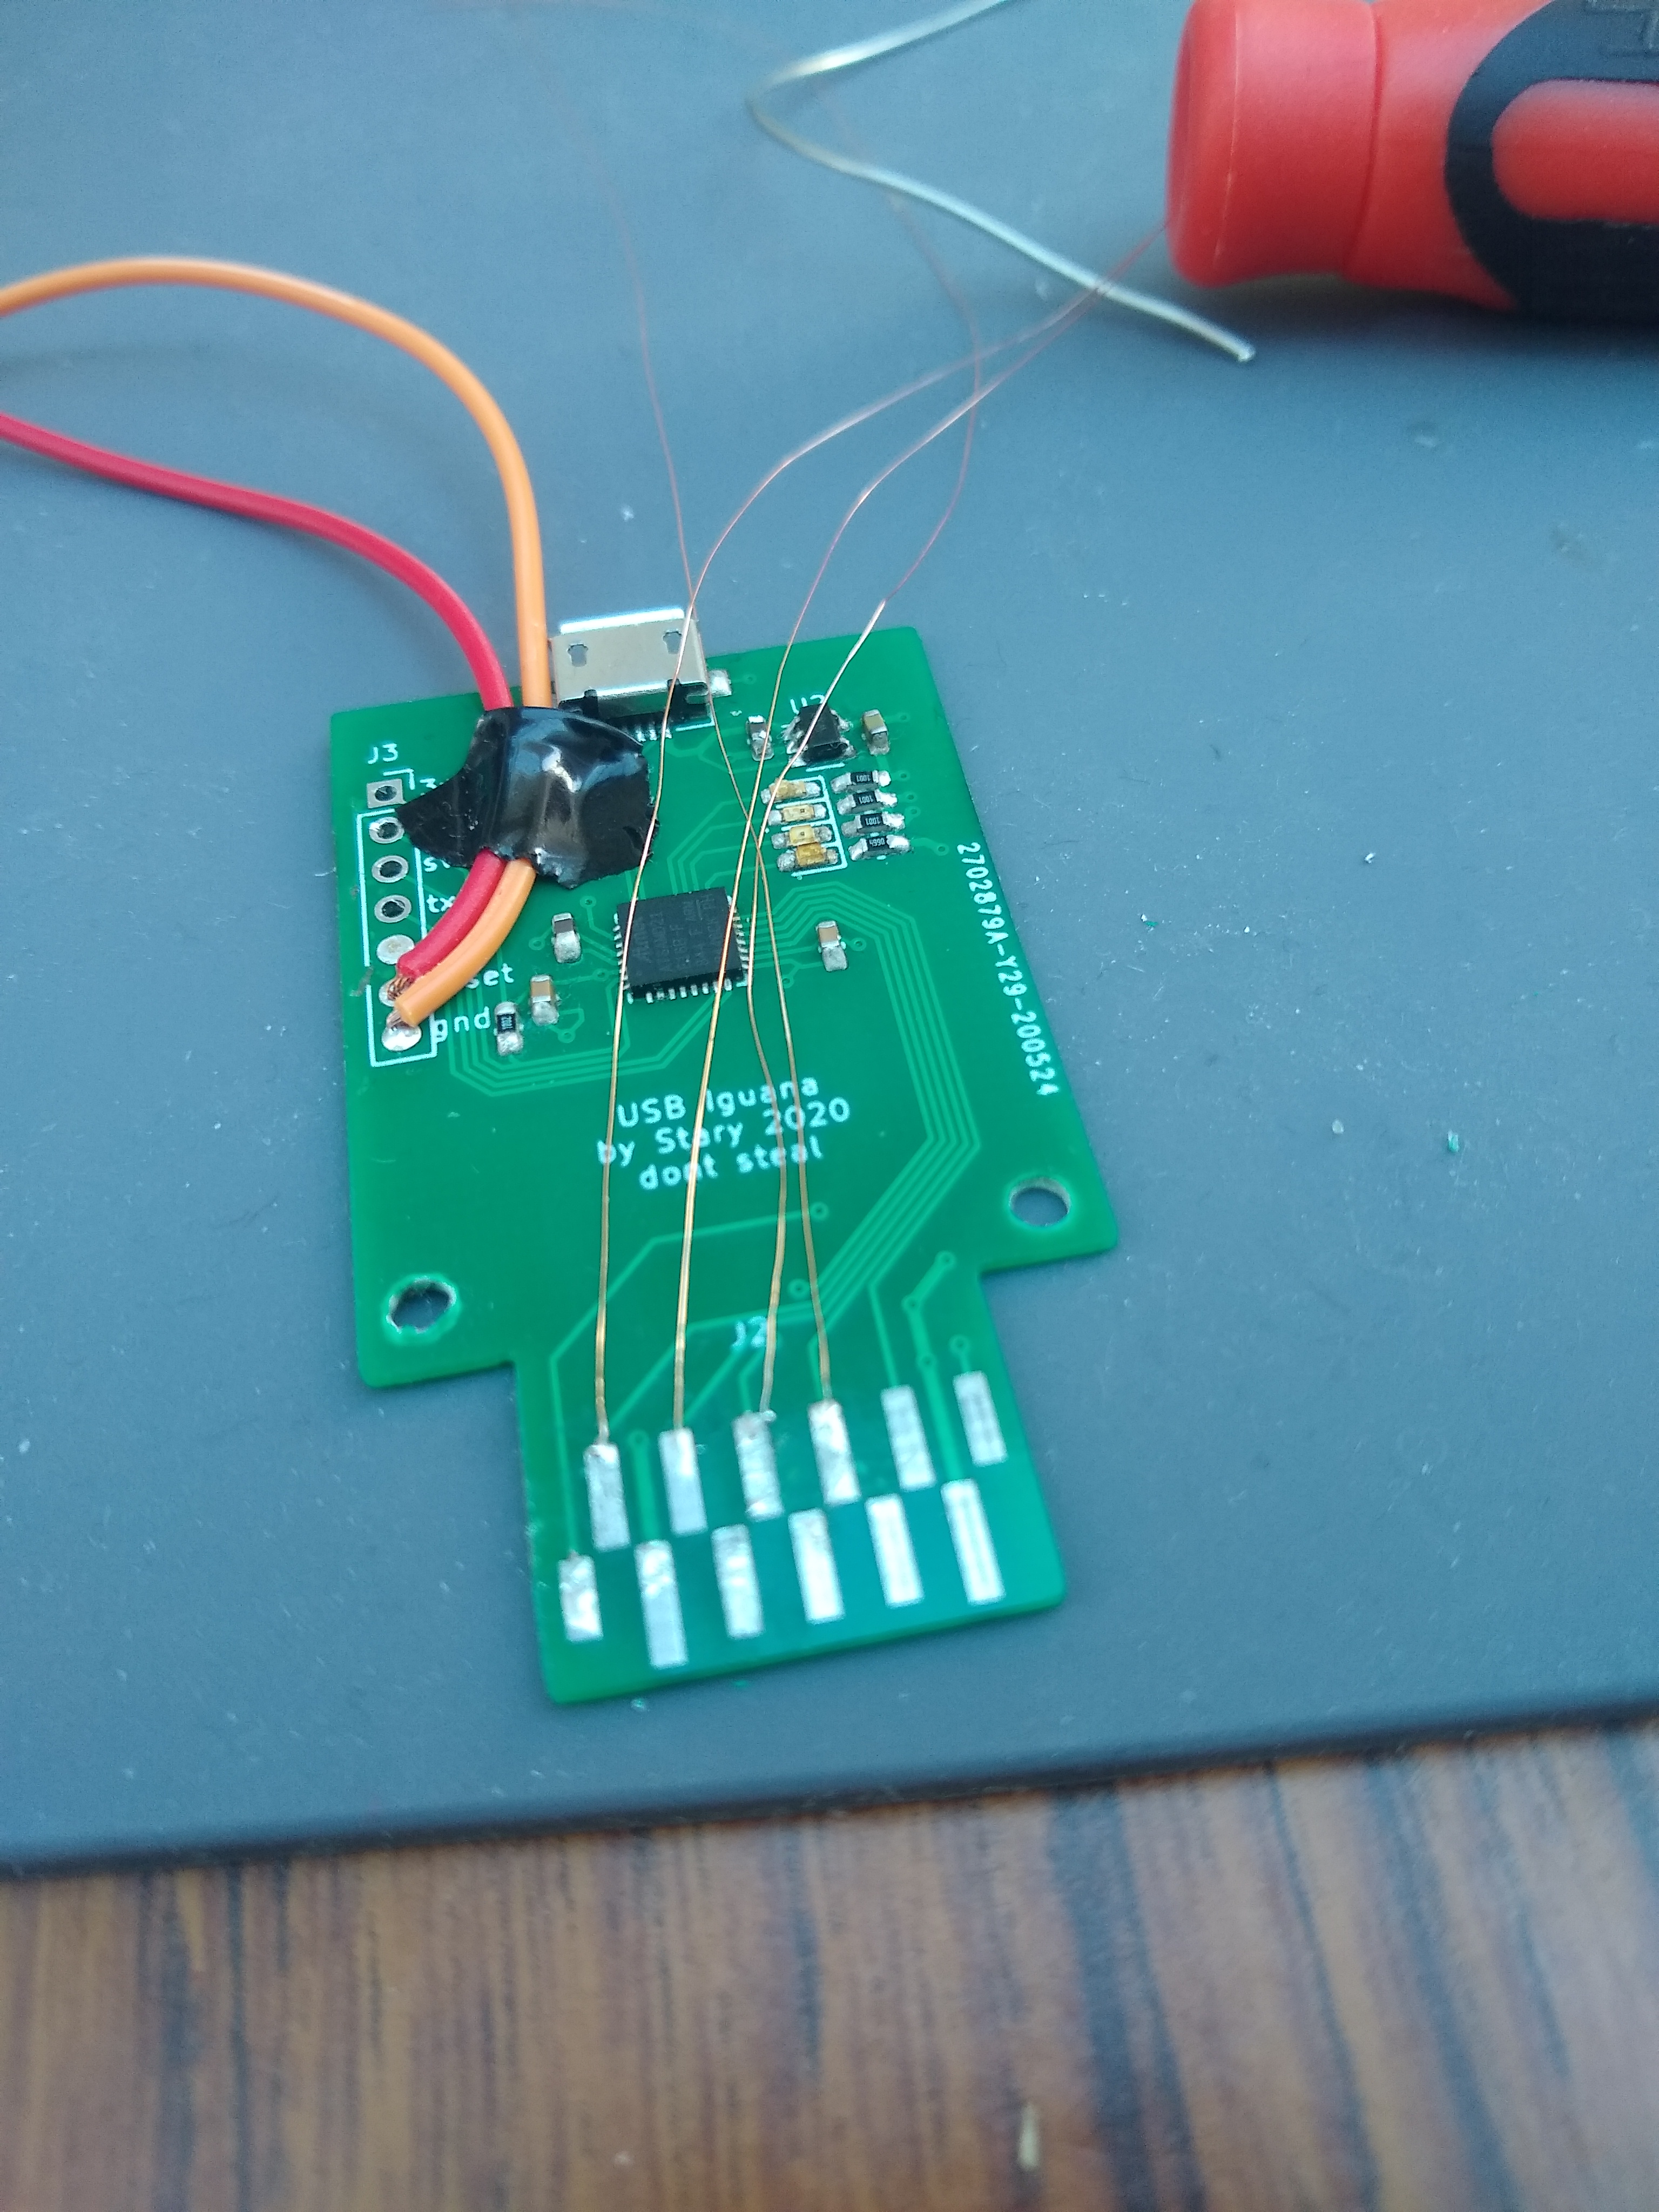
Coming back to the Pi hat -
As you can see in the above image, there's just a couple of bodge wires...
I had to solder a small wire for the reset line (orange wire), and also realised that by not using the IDC footprint but instead using the PinSocket footprint in KiCad, I had created something that was impossible to connect to with an IDC cable!
Luckily, one side of the connector is all GND so a wire could be run from the ribbon to GND as a temporary fix until I make a new board revision.
I also didn't have anything else to program the MCU with (like a spare ST-link programmer), so I soldered wires from the programming header to some spare Pi GPIO.
Finally, I was able to flash some firmware onto the hat board to control the SD/USB muxes. I haven't been able to get around to actually testing the USB/SD muxes yet due to lack of cables/spare SD card.. etc.
I got another SD card - using the SD card adapter with my laptop's build in SD reader it fails to enumerate with
[19278.477977] mmc0: tuning execution failed: -22
[19279.038295] mmc0: error -110 whilst initialising SD card
which is probably about what I expected, given that I failed to length match the SD bus at all. It also has issues trying to switch the card from 3.3v signalling to 1.8v signalling - maybe I should switch the power through the adapter, too?
The USB switching works fine though, so at least something worked.


Both SD card and USB switching seem to work fine with the Wii - I just need to write some firmware now for Gamecube controller emulation and things are mostly done.
There are a couple of board issues that probably warrant another revision, though.
Gecko replacement wise, it turns out the way Gamecube memory card ports work means I need a case or something for it to hold the PCB against the contacts, so that's going to take a bit to sort out thanks to the ongoing global everything. I can probably reuse the 3D printable case design from shuriken usb, though.
A quick review of the Gamecube controller protocol - there's one bidirectional data line pulled up to 3.3v.
A "0" bit is signalled by the line being low for 3us, followed by the line being high for 1us. A "1" bit is the reverse, with it being low for 1us and high for 3us.
Entry Latency on Cortex-M0+ is 15 cycles.
The exit latency is 13 cycles.
at 48MHz core clock, this means ~0.6us is spent in interrupt handling, even without my code being executed!! This definitely won't be able to handle detecting 1us wide pulses, as needed here. If I only count one edge then I can synchronise the reply properly by counting bits, but can't detect which bits the request actually had.
I got a cheap SD Gecko clone from eBay, which has given up its case for the project.
 I had to drill out the mounting holes in my PCB, as well as shave down the back side of the case until the back of my PCB fit. I also soldered some wires to the SPI pads for probing when the case is closed.

As you can see it fits perfectly into the Wii!
After configuring the hardware SPI peripheral properly, I can respond to the initial "get ID" request with the correct ID.

Another issue cropped up though - the main communication is done at 32MHz, which doesn't even leave enough time for the CPU to finish processing an interrupt before the first byte is sent.
There's also the fact the original Gecko used a CPLD, and as such could do things halfway through a byte - it sends some status bits after reading only the first 4 bits of a command. I can't do this with the hardware SPI, but the SAMD21 allows preloading a byte, so I can probably get away with preloading a byte with all the status flags.
Due to the interrupt latency issue I'm probably going to spin another board that can take a SAMD51...